Table of contents

As we are already aware about VPC, today we are going to discuss more about VPC.
VPC is a service which introduce a concept of Virtual Provate Cloud in the world of Public Cloud.
In this blog we will cover Security Group and NACL(Network Access Control List).
Security Group and NACL both is used for security.
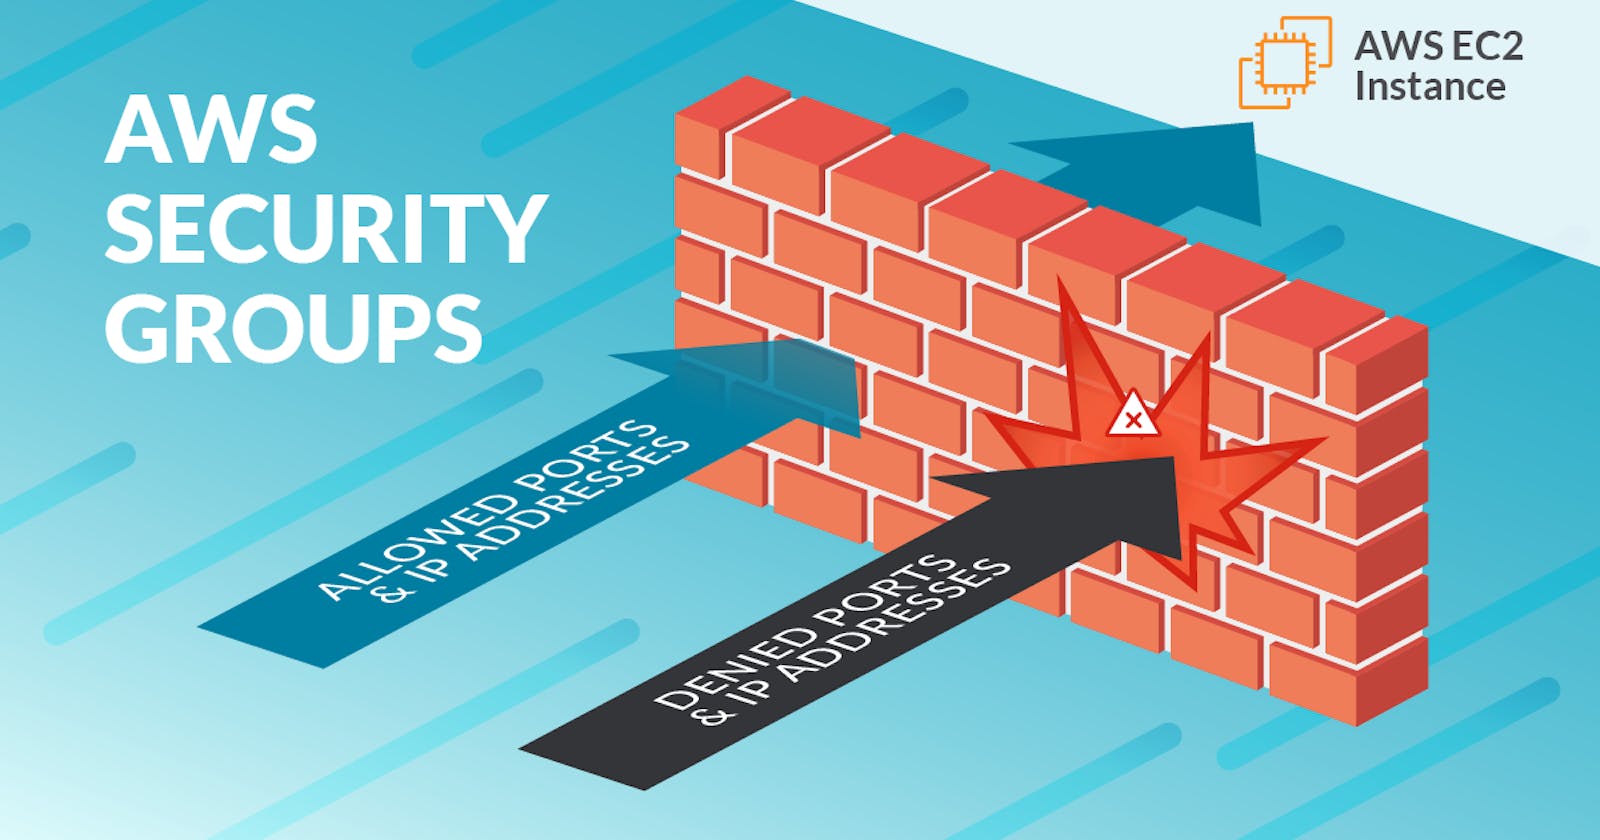
Security Group is used at instance level and NACL is used and subnet level.
With in the Security Group we have Inbound and Outbound rule.
By default all outbound traffic is allowed in security group except port 25 because port 25 is used for mail server.
If anything is applied at subnet level then by default it is applied to all instance inside the subnet.
In Security Groups you only configure the rule for allowing but in NACL you configure the rule for allow and deny both.
Create a security group
Open the Amazon VPC console at https://console.aws.amazon.com/vpc/
In the navigation pane, choose Security Groups.
Choose Create Security Group.
Enter a name for the security group (for example, test) and provide a description. Select the ID of your VPC from the VPC menu and choose Yes, Create.
Adding a rules
Open the Amazon VPC console at https://console.aws.amazon.com/vpc/
In the navigation pane, choose Security Groups.
Select the security group to update.
Choose Actions, Edit inbound rules or Actions, Edit outbound rules.
For Type, select the traffic type, and then fill in the required information.
You can also allow communication between all instances that are associated with this security group. Create an inbound rule with the following options:
Type: All Traffic
Source: Enter the ID of the security group.
Choose Save rules.
2. Network ACLs for your VPC
A network access control list (ACL) is an optional layer of security for your VPC that acts as a firewall for controlling traffic in and out of one or more subnets. You might set up network ACLs with rules similar to your security groups in order to add an additional layer of security to your VPC.
Network ACL rules
You can add or remove rules from the default network ACL, or create additional network ACLs for your VPC. When you add or remove rules from a network ACL, the changes are automatically applied to the subnets that it’s associated with.
There are some parts of a network ACL rule:
Rule number. Rules are evaluated starting with the lowest numbered rule. As soon as a rule matches traffic, it’s applied regardless of any higher-numbered rule that might contradict it.
Type. The type of traffic; for example, SSH. You can also specify all traffic or a custom range.
Protocol. You can specify any protocol that has a standard protocol number.
Port range. The listening port or port range for the traffic. For example, 80 for HTTP traffic.
Source. [Inbound rules only] The source of the traffic (CIDR range).
Destination. [Outbound rules only] The destination for the traffic (CIDR range).
Allow/Deny. Whether to allow or deny the specified traffic.
Creating a network ACL
Open the Amazon VPC console at https://console.aws.amazon.com/vpc/
In the navigation pane, choose Network ACLs.
Choose Create Network ACL.
In the Create Network ACL dialog box, optionally name your network ACL, and select the ID of your VPC from the VPC list. Then choose Yes, Create.
Add rules to a network ACL
Open the Amazon VPC console at https://console.aws.amazon.com/vpc/
In the navigation pane, choose Network ACLs.
In the details pane, choose either the Inbound Rules or Outbound Rules tab, depending on the type of rule that you need to add, and then choose Edit.
In Rule #, enter a rule number. The rule number must not already be in use in the network ACL. AWS process the rules in order, starting with the lowest number.
Select a rule from the Type list.
In the Source or Destination field, enter the CIDR range that the rule applies to.
From the Allow/Deny list, select ALLOW to allow the specified traffic or DENY to deny the specified traffic.
Choose Save.
